So, you want to bake a loaf of sourdough that does not look like a dense brick from another dimension? You have come to the right place.
I have been on the baking struggle bus before, messing up loaves that could double as doorstops. But guess what? With the right process, you can make sourdough bread that is crusty, chewy, and full of flavor without losing your sanity along the way.
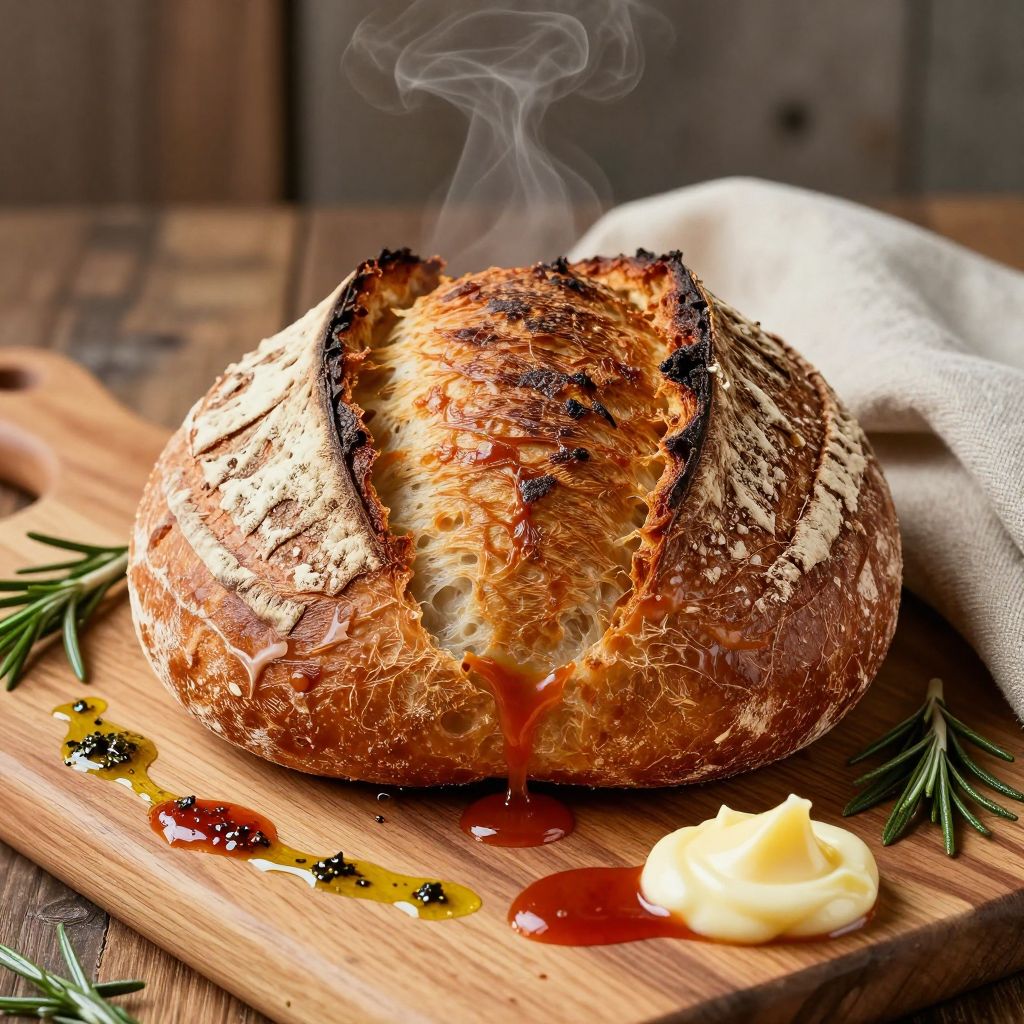
Let’s face it, there is something magical about pulling a fresh, golden loaf from the oven. The smell alone is worth every minute of waiting.
Why Sourdough Is Totally Worth It
I get it. Making sourdough sounds like a science experiment waiting to explode. You have to feed a starter, wait around, and wrestle some dough. But here is the thing. Real sourdough blows store-bought bread out of the water. It has a tangy flavor, a crackly crust, and that chewy inside is pure magic.
Once you nail your first loaf, baking sourdough actually feels kinda calming. Maybe it’s the waiting. Maybe it’s the folding. Maybe it is the bread feast at the end.
The best part? You only need a few ingredients, no fancy gear, and a touch of patience. You are baking bread, not building a rocket.
What You Will Need To Get Started
Tools That Actually Help
You do not need a bread lab. Just stick with the basics.
- Large bowl (nothing too deep, just roomy)
- Digital kitchen scale (measuring by grams helps a lot)
- Dough scraper or rubber spatula
- Proofing basket or bowl with clean towel
- Cast iron pot or Dutch oven (hello crispy crust)
- Sharp knife or lame for scoring dough
Ingredients
Bet you already have most of these sitting in your kitchen.
- Active sourdough starter: about 50 grams
- Flour: 500 grams of bread flour (mix in whole wheat if you are feeling adventurous)
- Water: 375 grams (cool or room temperature)
- Salt: 10 grams
How To Make Sourdough Bread
Step 1
Add your sourdough starter, flour, and water into a large bowl. Mix until it forms a rough, shaggy dough. Do not worry if it looks messy, that is normal.
Let the dough rest for about 30 minutes. This step, called autolyse, basically means letting the flour relax while you relax too.
Step 2
After resting, sprinkle in the salt and mix it in with wet hands. It might get sticky but just squish and fold until everything blends together.
It does not need to look smooth yet. Just make sure the salt is evenly distributed.
Step 3
Now it is time for some dough yoga. Stretch and fold the dough every 30 minutes for the next few hours. Grab a side, stretch it upward, and fold it over. Then rotate and repeat.
Do this about 4 to 6 times over 2 to 3 hours. You will feel the dough becoming stronger and smoother each time.
Step 4
After the stretch and fold sessions, let the dough rest in the bowl, covered, for 4 to 6 hours at room temperature. You want it to roughly double in size. If your kitchen is cool, give it extra time.
The dough rises at its own pace. Be patient or distract yourself with a snack.
Step 5
When the dough has puffed up, gently scoop it onto a lightly floured surface. Keep those precious air bubbles intact.
Shape it into a tight round ball by folding it inward and creating surface tension. It might take a little practice, but it feels satisfying once you get it right.
Step 6
Place the dough in a well-floured proofing basket or towel-lined bowl. Cover it and refrigerate overnight.
This slow chill deepens the flavor and makes scoring easier the next day.
Step 7
Next morning, preheat your oven to 475 degrees Fahrenheit and heat the cast iron pot inside. Use oven mitts because you are not invincible.
Carefully flip the cold dough onto parchment paper, score the top with a sharp knife, and place it into the hot pot. Cover with a lid, bake for 20 minutes, then uncover and bake another 25 to 30 minutes until golden and glorious.
Step 8
You did it. Now, hold off on slicing for at least an hour. Let it cool so the inside sets nicely and stays chewy.
How To Keep Your Sourdough Starter Alive
A sourdough starter acts like a little pet. It eats, breathes, and throws tantrums if ignored.
- Feed daily if kept on the counter
- Feed weekly if stored in the fridge
- Use equal parts flour and water for each feeding
If it smells tangy, you are fine. If it looks moldy or smells rotten, toss it and start again. Been there, done that.
Tips For Consistent Results
- Weigh ingredients. Guesswork is overrated.
- Be patient. Let your dough rise when it feels like it.
- Keep the oven hot. That gives you the perfect crust.
- Work on shaping. A little practice gives professional results.
And if one loaf flops? Laugh it off. We all start somewhere, and at least you get some crunchy croutons out of it.
Final Thoughts
Sourdough bread does not have to be stressful. With a little practice and a happy starter, you can make bread that smells amazing and tastes even better.
Give it a go, have a good laugh if it looks weird, and take pride when it finally comes out perfect.
Still curious about other baking ideas? Check out quick bread guide. It might inspire your next kitchen success.
Simple Homemade Sourdough Bread
Ingredients
Method
- In a large bowl, mix together 50 grams active sourdough starter, 500 grams flour, and 375 grams water until a rough dough forms.
- Let the dough rest for 30 minutes uncovered to autolyse and hydrate the flour.
- Add 10 grams salt and mix it into the dough using wet hands until fully incorporated.
- Perform stretch and folds every 30 minutes for 2 to 3 hours, doing 4 to 6 sets total. For each set, stretch the dough upwards and fold it over, rotating the bowl and repeating.
- After the final fold, cover the dough and let it rest at room temperature for 4 to 6 hours, or until doubled in size.
- Gently transfer the dough to a lightly floured surface, taking care to preserve air bubbles. Shape it into a round by folding the edges inward and creating surface tension.
- Place the shaped dough into a well-floured proofing basket or towel-lined bowl. Cover and refrigerate overnight for cold fermentation.
- The next morning, preheat the oven to 475°F (245°C) with a cast iron pot or Dutch oven inside for at least 30 minutes.
- Carefully turn the cold dough onto parchment paper, score the top using a sharp knife or lame, and transfer it into the hot pot.
- Cover with the lid and bake at 475°F for 20 minutes. Remove the lid and bake for an additional 25 to 30 minutes until golden brown and crusty.
- Remove the bread from the pot and let it cool on a wire rack for at least 1 hour before slicing.