So you want to make homemade bread but you think you need a culinary degree or a magic apron that grants baking powers?
Let me stop you right there. You absolutely do not.
A good bread recipe needs only a few simple ingredients, no special equipment, and a little bit of that beautiful thing we call patience.
You’re going to learn how to make a super simple homemade bread recipe that’s beginner friendly, reliable, and actually fun to make.
I started baking bread in my tiny apartment kitchen during a rainy weekend and to this day, I still feel proud every time my place starts smelling like a cozy bakery.
Why Make Homemade Bread
Let me ask you this. Have you looked at the back of a store bought loaf lately?
Ten different ingredients just to make something that should only need four. What even is sodium stearoyl lactylate?
Homemade bread puts you in control. You’re the boss. The flour whisperer. The yeast tamer.
And let us not forget the bragging rights. Nothing screams “I have got my life together” like pulling a golden loaf of bread out of your oven.
What You Will Need To Get Started
Forget fancy mixers or temperature controlled dough chambers. If you have hands, a bowl, and a working oven, you’re already halfway there.
Basic Tools
- A large mixing bowl
- A wooden spoon or silicone spatula
- Measuring cups and spoons
- A clean kitchen towel
- A baking sheet or loaf pan
Optional Nice To Haves
- Dough scraper (if you want to feel like a pro)
- Instant read thermometer (totally extra, totally satisfying)
- Stand mixer (but your arms work just fine)
Ingredients
Here are the ingredients you will need for one standard size loaf of bread.
- 3 cups all purpose flour (plus a little more for dusting)
- 1 packet (2 1/4 tsp) active dry yeast
- 1 tsp salt
- 1 tbsp sugar or honey
- 1 cup warm water (think bathwater warm, not too hot)
Read that again. That is just five key ingredients. And none of them sound like a science experiment.
How To Make Homemade Bread
Step 1
Pour the warm water into your mixing bowl. Stir in the sugar or honey.
Sprinkle the yeast on top and let it sit for 5 to 10 minutes. It should get foamy like a bubble bath for dough.
If it just sits there doing nothing, your yeast might be expired or dead. That yeast is not your friend.
Step 2
Add the flour and salt to the yeast mix. Stir until it forms a shaggy dough.
You will feel the dough resisting. That means it’s working. That means you are now in a committed relationship with gluten.
Step 3
Turn the dough onto a lightly floured surface.
Knead for about 8 minutes. Push it down and forward with your palms, then fold it back toward you, twist, and repeat.
Not only is this great for your arms, but it also builds structure in the bread. Talk about multitasking.
Step 4
Once it is smooth and bounces back when you poke it, put it in a clean greased bowl.
Cover it with a kitchen towel and let it sit somewhere warm for 1 to 2 hours.
The dough should double in size like it got all puffed up with confidence.
Step 5
Punch it down gently. Yes, punch. Just once. You earned this.
Turn the dough out again and shape it into a loaf. Tuck the seams under like you are giving it a little bread hug.
Step 6
Place the dough into a greased loaf pan or onto a parchment lined baking sheet.
Cover it again and let it rise until puffy and about one and a half times its size. This usually takes 30 to 45 minutes.
Step 7
Preheat that oven to 375 degrees Fahrenheit while your dough finishes its second rise.
Bake for 25 to 30 minutes until it is golden brown and sounds hollow when you tap the bottom like you are checking a watermelon at the grocery store.
Step 8
Place the loaf on a wire rack and let it cool at least 15 minutes before slicing. Yes, I know it smells amazing, but patience makes it easier to cut and finishes the texture.
Tips To Keep You Sane While Baking
- Use fresh yeast: Always check the date on that packet. Expired yeast will stand you up.
- Do not skip the kneading: It is not optional. It builds structure and helps create that classic chewy texture.
- Be patient: Bread needs time to rise and develop flavor. You rushing it? It will know.
- If your place is cold: Let the dough rise in the oven with just the light on. Works like a charm.
Common Questions I Get Basically Every Time
Can I Use Whole Wheat Flour
Yes, but do not go completely whole wheat right away. Try subbing one cup of whole wheat for one cup of all purpose first.
Can I Make This Without Sugar
Yes, but the yeast loves a little sugar for breakfast. It helps it foam up faster.
Do I Need A Bread Machine
Absolutely not. Unless you just love watching things mix for you. I will not judge either way.
Why This Recipe Works
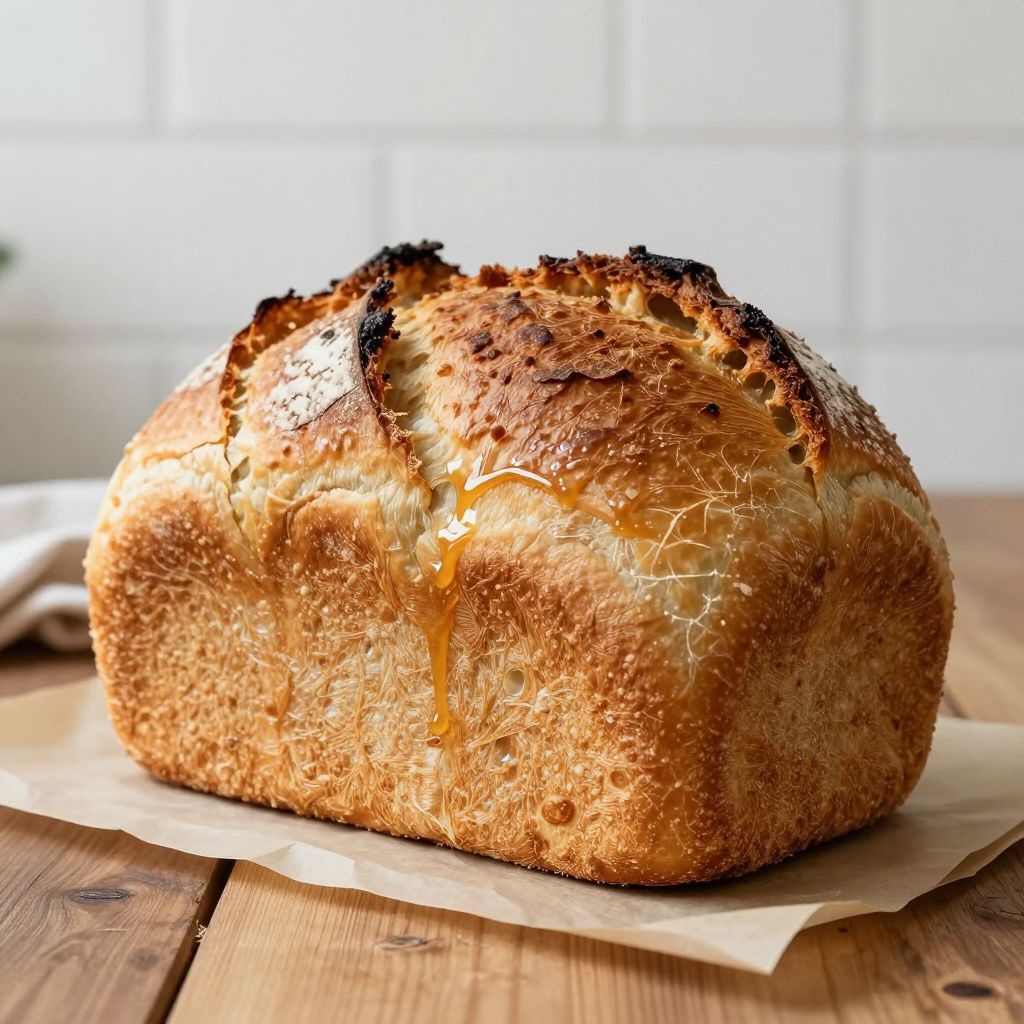
This bread is soft inside, golden outside, and perfect for sandwiches or just slathered with butter while it is still warm.
You do not need to wait three days or fuss with starters or timers or sourdough names. This is bread for real life.
It is forgiving too. Forgot to knead for a full 8 minutes? Still works. Water was a little too hot? It forgives you. This bread gets it.
Let Us Be Honest For A Second
Maybe your first loaf is a little wonky. Maybe it looks like a potato wearing a crusty jacket. Who cares?
You made bread. You mixed, kneaded, rose, baked, and cooled something from scratch with your bare hands.
That is no small feat. And with every loaf, you will get better. Next thing you know, people will be asking you for your “family recipe.”
Make It Your Own
Want more flavor? Add garlic powder or herbs to the dough.
Feeling sweet? Toss in some cinnamon and raisins.
Once you have nailed the base recipe, you can get creative. You are the bread boss now.
You made it through the whole recipe and now you have got warm, soft, bakery style bread sitting in your kitchen like a trophy for your taste buds.
Feeling inspired and ready to level up your kitchen game?
Check out simple dinner recipes to find more ways to make your meals feel homemade with heart.
Simple Homemade Bread
Ingredients
Method
- Pour the warm water into a large mixing bowl and stir in the sugar or honey.
- Sprinkle the yeast on top and let it sit for 5 to 10 minutes until foamy.
- Add the flour and salt to the yeast mixture. Stir until a shaggy dough forms.
- Turn the dough onto a lightly floured surface and knead for about 8 minutes until smooth and elastic.
- Place the dough in a greased bowl, cover with a kitchen towel, and let rise in a warm place for 1 to 2 hours, until doubled in size.
- Punch the dough down gently, turn it out, and shape into a loaf, tucking the seams under.
- Place the loaf into a greased loaf pan or onto a parchment-lined baking sheet.
- Cover again and let rise for 30 to 45 minutes until puffy and about 1.5 times its size.
- Preheat the oven to 375°F (190°C) during the second rise.
- Bake for 25 to 30 minutes until golden brown and sounds hollow when tapped on the bottom.
- Transfer the baked loaf to a wire rack and let cool for at least 15 minutes before slicing.